
Moulding - Character 1


Using Plastishim, I cut and placed a wall down the centre of my sculpt, to enable me to fibreglass my sculpt in two halves. Each panel was pushed into the sculpt and secured with tape, which helped to hold them together, so no gaps would create any faults.
This shim had pre-made keys, so I could fibreglass straight into them with confidence that they would be neat and consistent.
MOULDING PREP
Becasue I had chosen a thin shim, this meant that I needed to take extra care when fibreglassing against the shim, as this would slightly move, resulting in damaging my sculpt. I applied gel coat to the sculpt, shim and neck area below the flashing edge. I then applied a layer of 'mud' which was a thickened batch of gel coat using talc. I put this in any tricky areas, such as touchdowns and sharp angled ares. This helps to create ease when pushing matting into troublesome areas.
I then used a choppies mix for my first lay up layer, as i felt this was a more detailed, controlled way to ensure I don't get any airbubbles trapped.
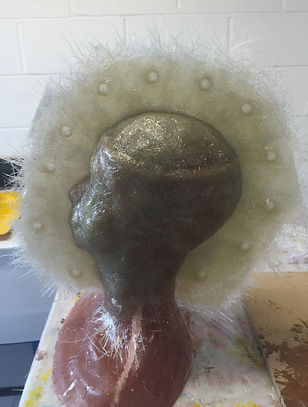
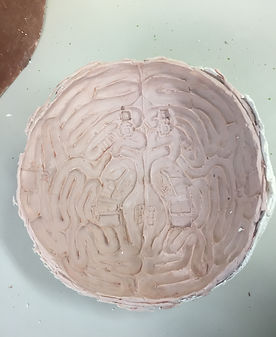
Using life casting silicone, i moulded the brain of my sculpt, and backed it with plaster bandage in preparation for fibreglassing. I applied two layers of gel coat to ensue all of the detail is picked up before I start laying up matting. Using choppies, I started laying up fiberglass. I chose choppies as this meant I could be thorough and avoid any airbubbles.
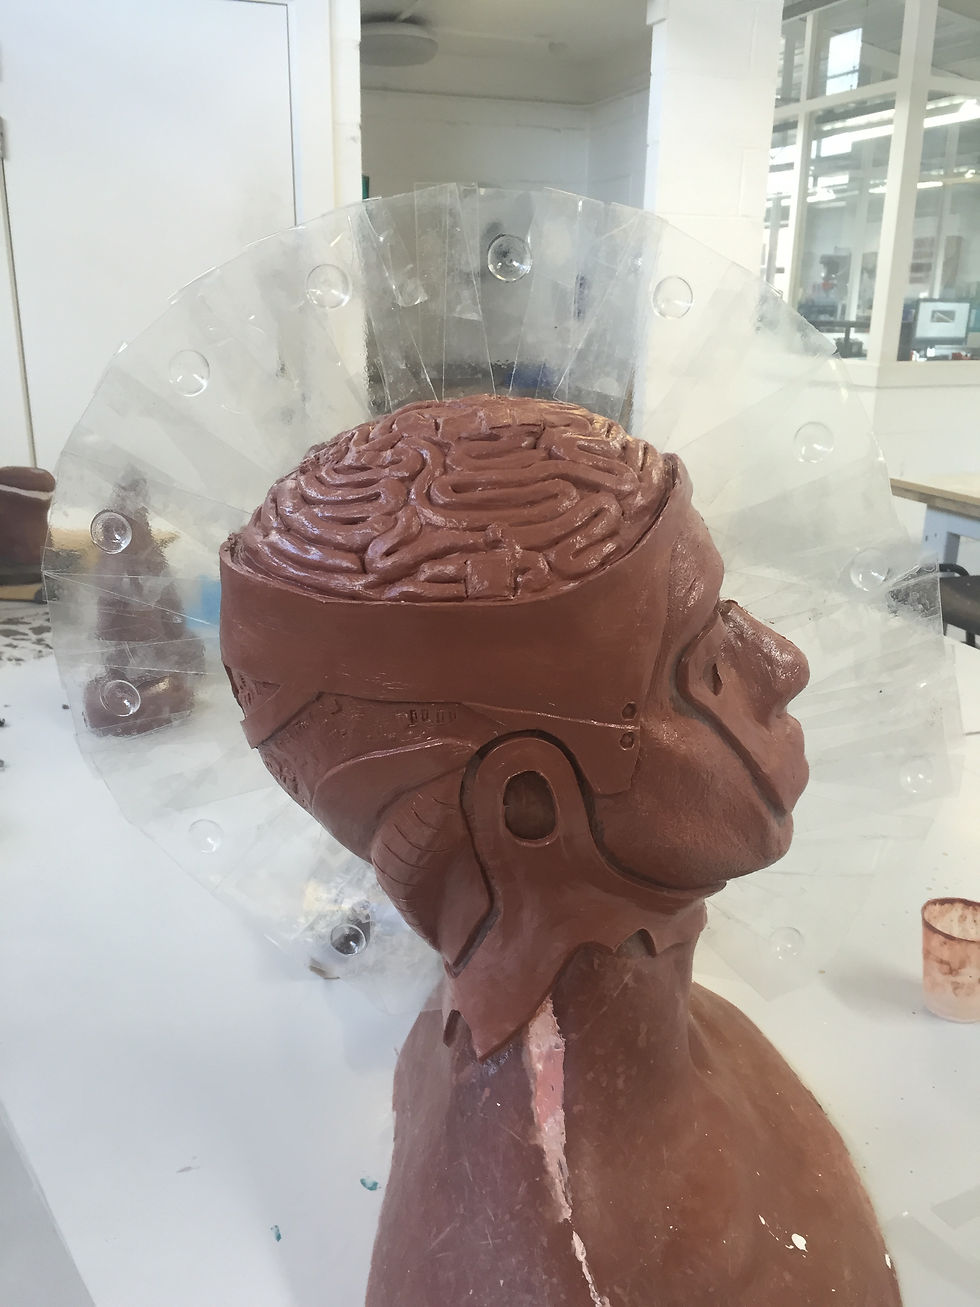
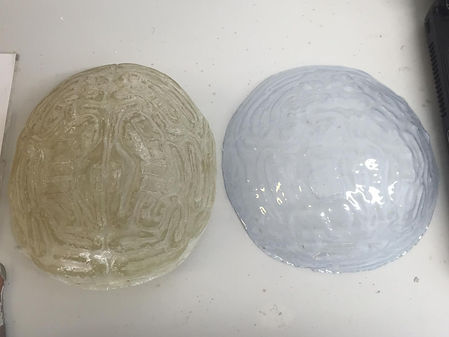
Once demoulded, I sanded down the edges and vacformed the piece which should fit on top of the makeup within the channels i sculpted for it.
I will need to est how the vacform sits on the makeup, as I will be using a wet product on top of the brain. I also need to consider how to extend the vacform to enable some height, meaning it wont have contact with the brain.
DEMOULDING & CLEANING UP


Before demoulding, I drilled bolt holes and vibrasawed the edges. When I demoulded, the shim peeled off, leaving a smooth flange on either half. When removing the clay, it peeled out in large chunks, making it easier and quicker for me to clean up.
My fibreglass head I sculpted was misplaced in the workshop, however it did have parts of my sculpt remaining on it. After searching the whole workshop and bins for it, I had to resort to making another head. As a result I will never know how well my pieces could have come out as I didn't get the change to fun foam with it. When making my new head, the silicone skin had moved slightly leaving a ridge along the whole seam. Ultimately this could have meant that the mould wouldn't fit my head anymore making the prosthetic completely unsuccessful.
I sanded down my new core and used car body filler in any areas necessarty to smooth over the ridge.
When running my foam, I noticed that when demoulding, the one half would always catch in the same place at the back. To try aand overcome this, I snaded down the head further, knowing that I could stretch the foam where necessary when applying it.
Stan Winston School (2013)
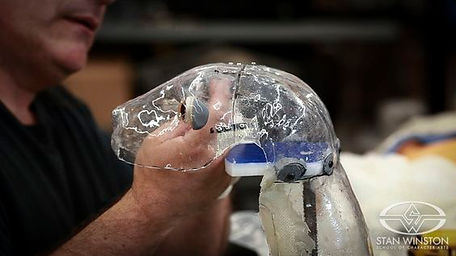
In Animatronics, vacforms are used as shells or 'skulls' for fabrication materials to sit on top of to gove a structure to the piece.
The image on the right is an example of Rick Lazzarini using a vacform skull for an animatronic head.
In makeup, I have seen vacform copies of life casts for the prosthetic pieces to sit on for either display purposes or to ensure the pieces keep their shape.
I decided to use a vacform to create a copy of my fibreglass brain to create a lid that would fit perfectly on top of my foam head.